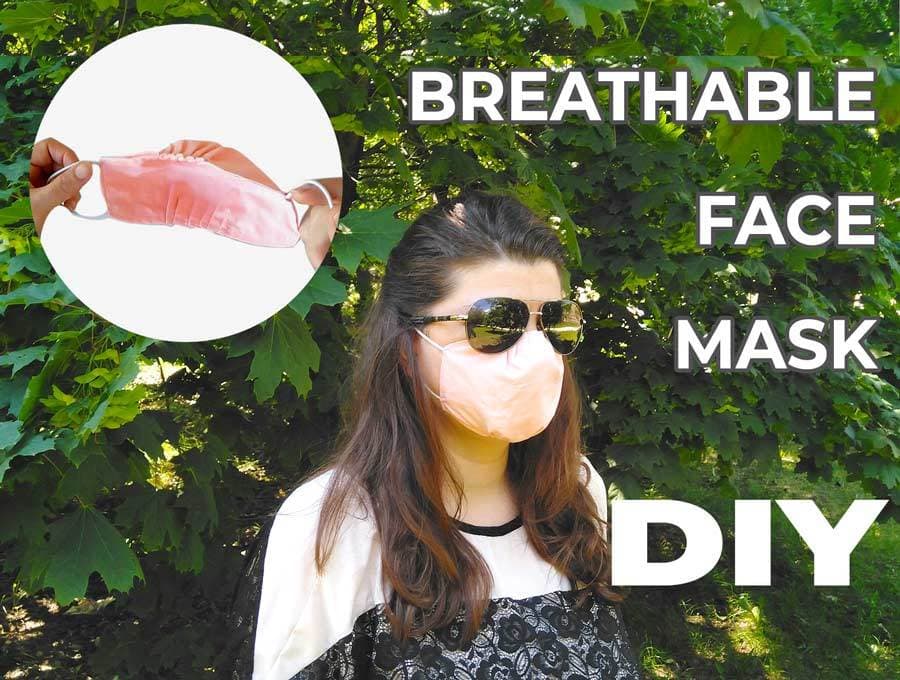
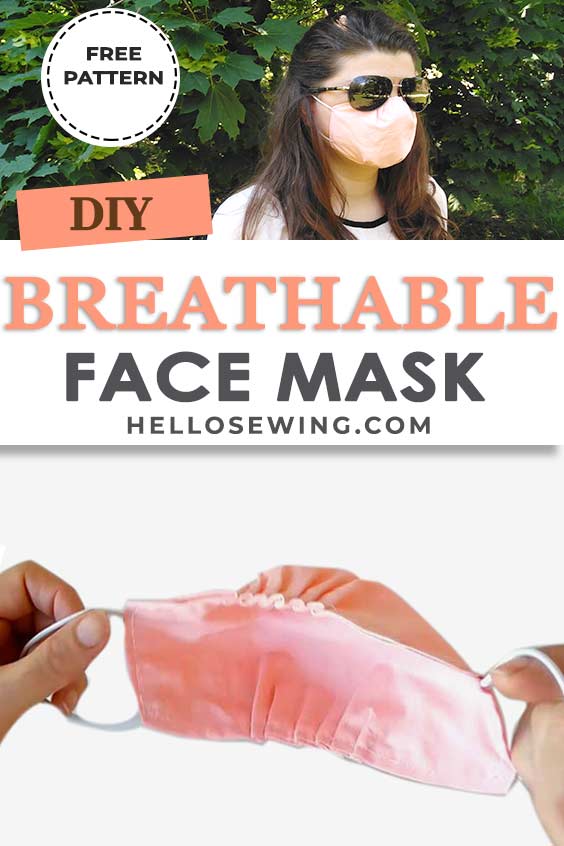
DIY Breathable Face Mask Tutorial to Stay Comfortable During Summer
Summer is already upon us and the hottest current trend are .. breathable face masks. Although they are certainly not the accessories we planned or expected on wearing this summer, this is the reality we have to accept and we’ll likely be rocking face masks during the hot summer days. The thing is face masks can feel a little bit more uncomfortable than usual during this time of the year. If you have to wear a mask – breathability is a must! This is why I came up with a solution that will hopefully help us breathe a bit more easily and feel a bit more comfortable – DIY breathable face mask for the summer!
Below you will find my step by step written tutorial how to make your own summer face mask from fabric with VIDEO instructions for all the visual learners.
We occasionally link to goods offered by vendors to help the reader find relevant products. Some of the links may be affiliate meaning we earn a small commission if an item is purchased.
Table of Contents
How to make breathable face mask
Supplies and tools
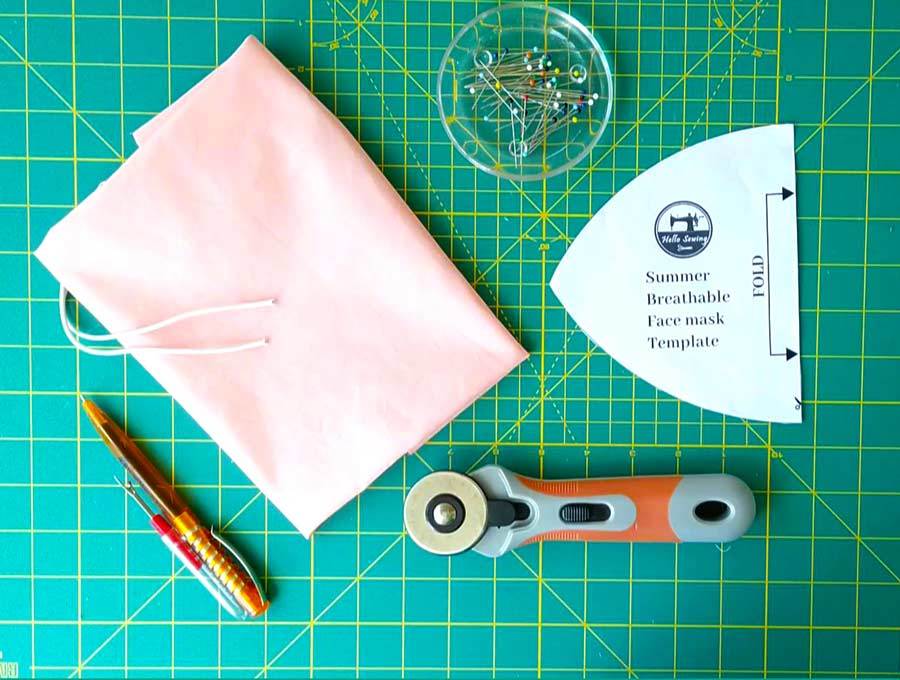
- fabric – 100% tightly woven cotton
- 1/16″ round elastic (preferable) or 1/8″ flat elastic – 2 x 7-8″ long
- scissors (or rotary cutter and a cutting mat)
- ruler or measuring tape
- sewing machine (or you can hand sew this)
DOWNLOAD: Breathable face mask pattern (Free PDF file)
Follow us for free patterns & tutorials! [easy-profiles]
How To Sew a DIY breathable face mask
Watch my newest summer face mask video first and then follow the written step by step instructions below.
Please enjoy and don’t forget to Like and SUBSCRIBE over on YouTube to be kept up to date with new videos as they come out.
Breathable Face mask VIDEO TUTORIAL
INSTRUCTIONS:
STEP 1: Download and print the pattern
Make sure you print the pattern at actual size (no scaling) on either US letter paper or A4 paper. Measure the test box/line to make sure it printed correctly. Cut it out.
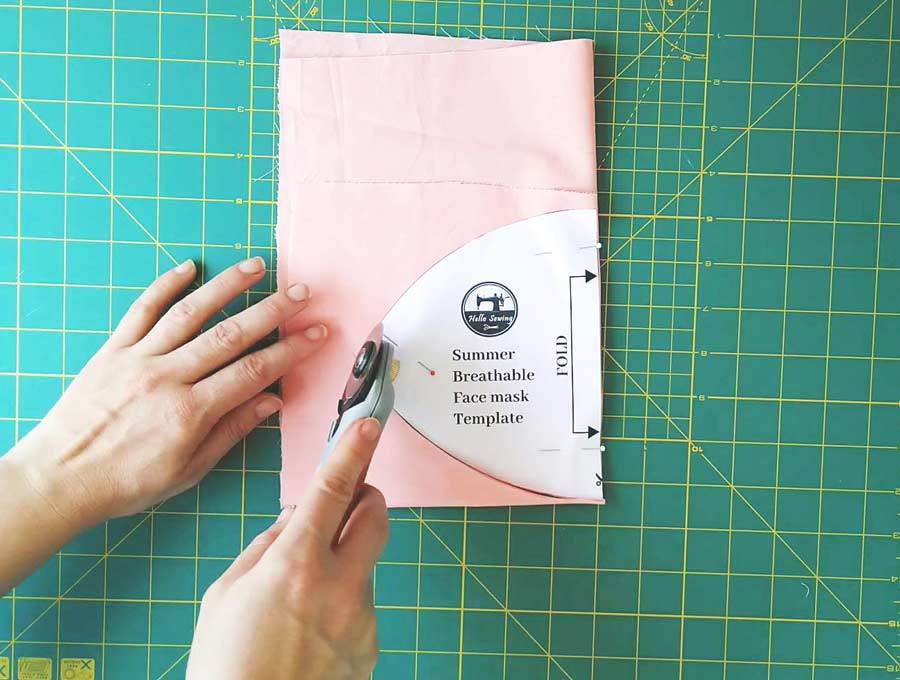
STEP 2: Cut fabric
Fold your fabric twice – once lengthwise and once width-wise so that it can accommodate the pattern on fold. Place the pattern on fold (you will have four layers of fabric at this point) and cut it out. You should have two pieces for your mask.
STEP 3: Pin
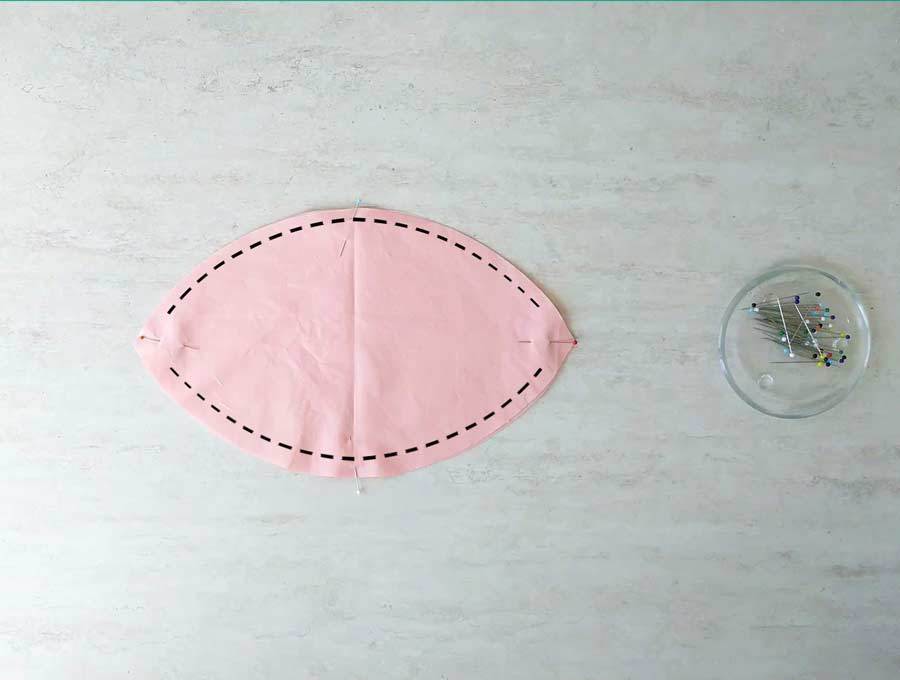
Place the fabric pieces with right (pretty) sides together and pin them either using pins or clips.
STEP 4: Stitch around
Stitch along the top and bottom edges using a 1/4″ seam allowance, leaving about 2 inches from each end unsewn. Backstitch at the beginning and end of each of the seams to make sure your stitching won’t come undone.
STEP 5: Clip the seam allowance
Clip around the mask, making sure not to snip through your stitching. This will allow the face mask to lay flat and will reduce the bulk at the seams.
STEP 6: Turn around
Turn the mask inside out through one of the side openings. Use something pointy like your scissors or a chopstick to smooth out the edge by pushing out the curved seam. Don’t use something that is too sharp or you’ll poke through the seams. Now give it a good press. Tuck in the side seams.
STEP 7: Mark pleats
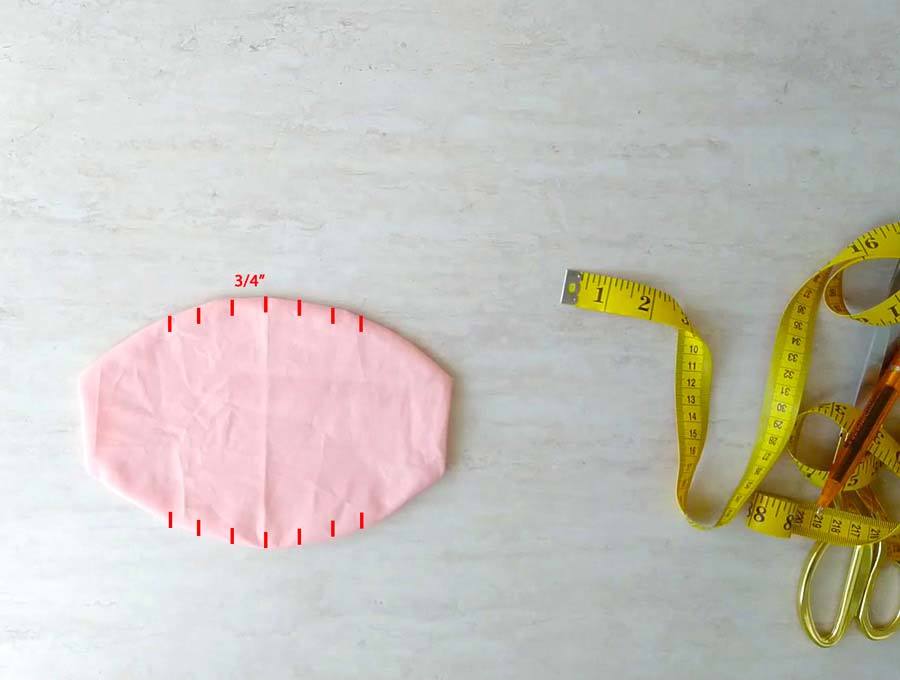
Fold the mask in two and mark the center of the top and bottom curve. Unfold the mask and make 3 marks on each side of the top seam, 3/4 inches apart. Repeat for the bottom side. You should have 7 markings on top and 7 on the bottom. These mark the position of the pleats.
STEP 8: Make pleats
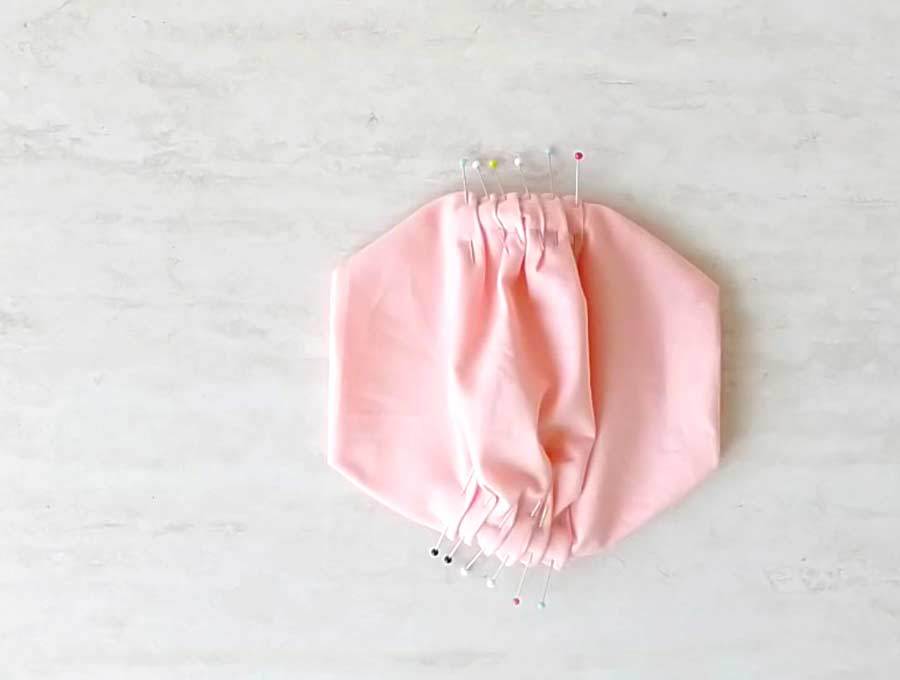
Fold the fabric between first two marks so that it makes a small pleat. Pin in place and repeat 5 more times for the top curve. Repeat for the opposite side, making sure both top and bottom pleats follow the same direction.
STEP 9: Sew around the mask
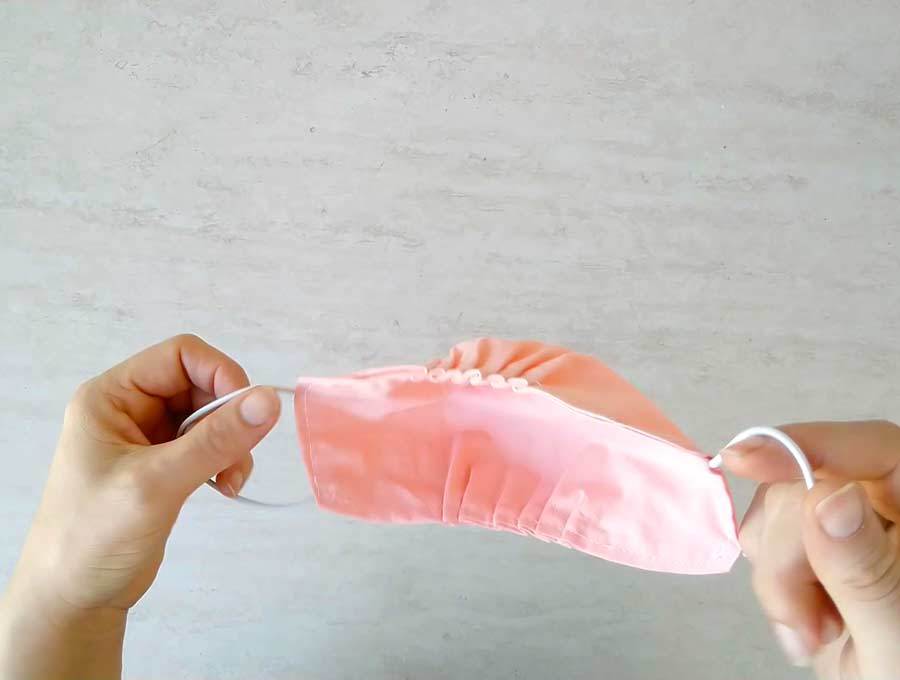
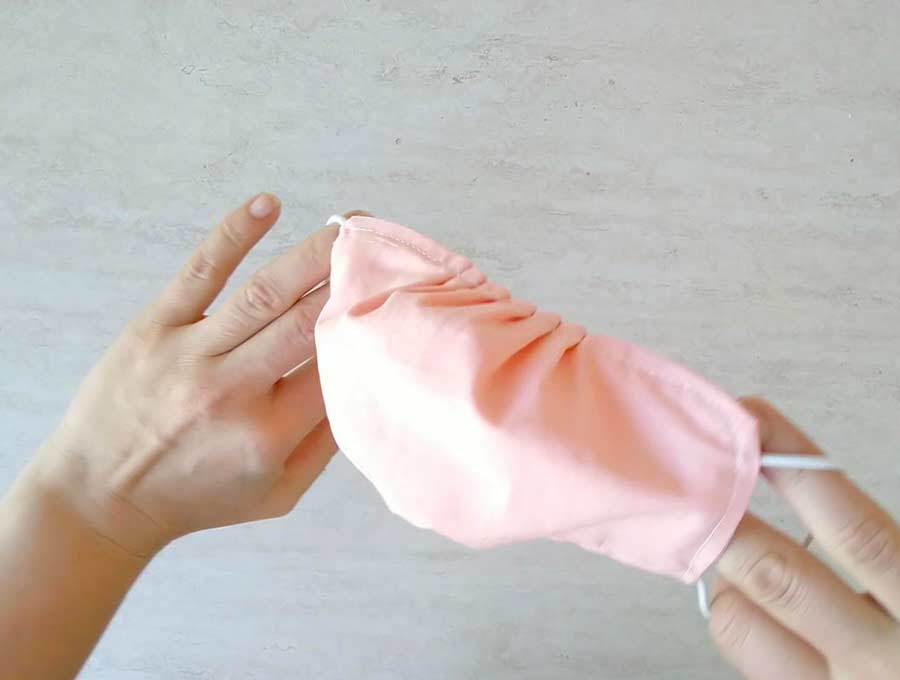
Starting from the top edge, slowly sew around the mask using a 1/4″ seam allowance, catching the pleats. When you reach the end of the top curve stop and insert both ends of the elastic through the side opening. Sew the elastic in place, closing the side opening. Repeat for the opposite sides.
Remove the pins as you go
That’s it your breathable face mask is ready! Try it on and rock it with style!
Remember – you need to follow all current CDC recommendations for wearing and washing your face coverings as well as limiting the spread of the COVID 19 (coronavirus.)
Stay safe, healthy and hopefully comfortable and cool during the summer!
Do you like this? Pin for later:
Wanna be friends? Click HERE and follow me on Pinterest
RELATED:
- DIY Scarf face mask
- Free mask template (fitted, contoured model)
- Best fit face mask
- DIY cloth facemask with fabric ties (pleated)
- How to make surgical face mask with elastic ear loops
- No elastic face mask (No elastic model, around the head ties – great for medical staff)
- Nose wire piece ideas
- Ear guard for nurses and doctors
- Surgical hat pattern (unisex model with ties)
- How to make a plastic face shield
- DIY reusable face shield with cute bow tie
- How to make a travel pillow
- DIY gaiter face mask
- 3d mask pattern and tutorial
- Kids face mask sewing tutorial
- Face mask WITHOUT sewing machine (Video tutorial)

